Getting Started with Raspberry Pi in LabVIEW

Getting Started with Raspberry Pi in LabVIEW
By Jonas Mäki

Hardware
You will need the following:
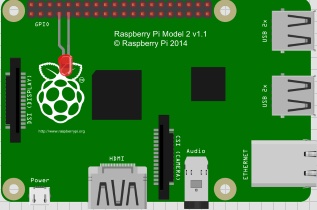
• Raspberry Pi 4 Model B
• Raspberry Pi 4 power adapter or equivalent (5V 3A)
• Ethernet RJ45 cable
• microSDHC card 32GB
• microSDHC card reader either USB or built-in to PC/laptop
• HDMI male to micro HDMI male cable*
• Router*
*Only if you intend to use full desktop mode, which is unnecessary for LabVIEW + Raspberry as the video output is not the VI front panel
Software
You will need the following software:
• LabVIEW Community edition (Raspberry Pi cannot be used in commercial applications if programmed with LabVIEW)
• LabVIEW Hobbyist toolkit that can be downloaded from NI Package Manager
• Raspberry Pi OS, using Raspberry Pi Imager
Installing the Raspberry Pi with LabVIEW Enabled Image
There are two options to install the Raspberry Pi OS onto the SD card. You can either install it automatically using a premade image or manually install the OS and LabVIEW.
Option 1: Automatic install with Raspbian Lite (Bullseye)
1. Head over to Makerhub to download the premade image for LV 2021 or 2022
2. Make sure your SD card is in the SD card reader slot or adapter connected to your computer
3. Open Raspberry Pi Imager and install the image. See this video for installation steps
4. Select Operating system and choose the Makerhub image
5. Choose the SD card under storage
6. Hit the cog wheel in the bottom right corner
a. Enter login information as needed, as we are running Raspbian lite there is no Desktop interface, and you MUST configure the image here
7. Install the image
Option 2: Manual install
1. Install the Desktop version of the latest Raspbian OS from the Raspberry Pi Imager
2. Follow the same steps as option 1 but select the latest Desktop version OS
3. After installing the image insert the SD card into the Raspberry Pi and power it on with a wired network connection
4. Make sure that the Raspberry Pi gets ethernet
5. Connect your computer to the same wired network (Wi-Fi should work but the LabVIEW Target Configuration window doesn’t always work with this)
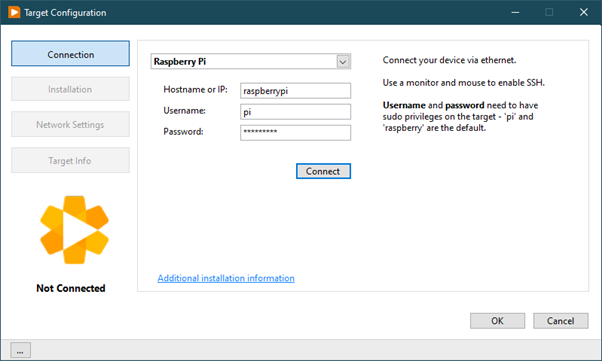
6. Open LabVIEW and navigate to Target Configuration wizard

7. Enter login credentials setup during image installation and click connect

8. When connected go to the installation page through the Installation button
9. Current version will show Not Installation, press the install button to install LabVIEW onto your Raspberry Pi
10. Once installed do a reboot just to make sure (power Off/On of the Raspberry Pi)
Note: that the installation can fail and retries can help. Using only a wired network for both computer and Raspberry Pi is highly encouraged
Starting your first Raspberry Pi Project in LabVIEW
You can skip all these steps if you are familiar with RT programming in LabVIEW. Then, select Raspberry Pi once you add a target to your project explorer.
- Open the Target Configuration wizard

2. Enter the correct credentials and connect to the target

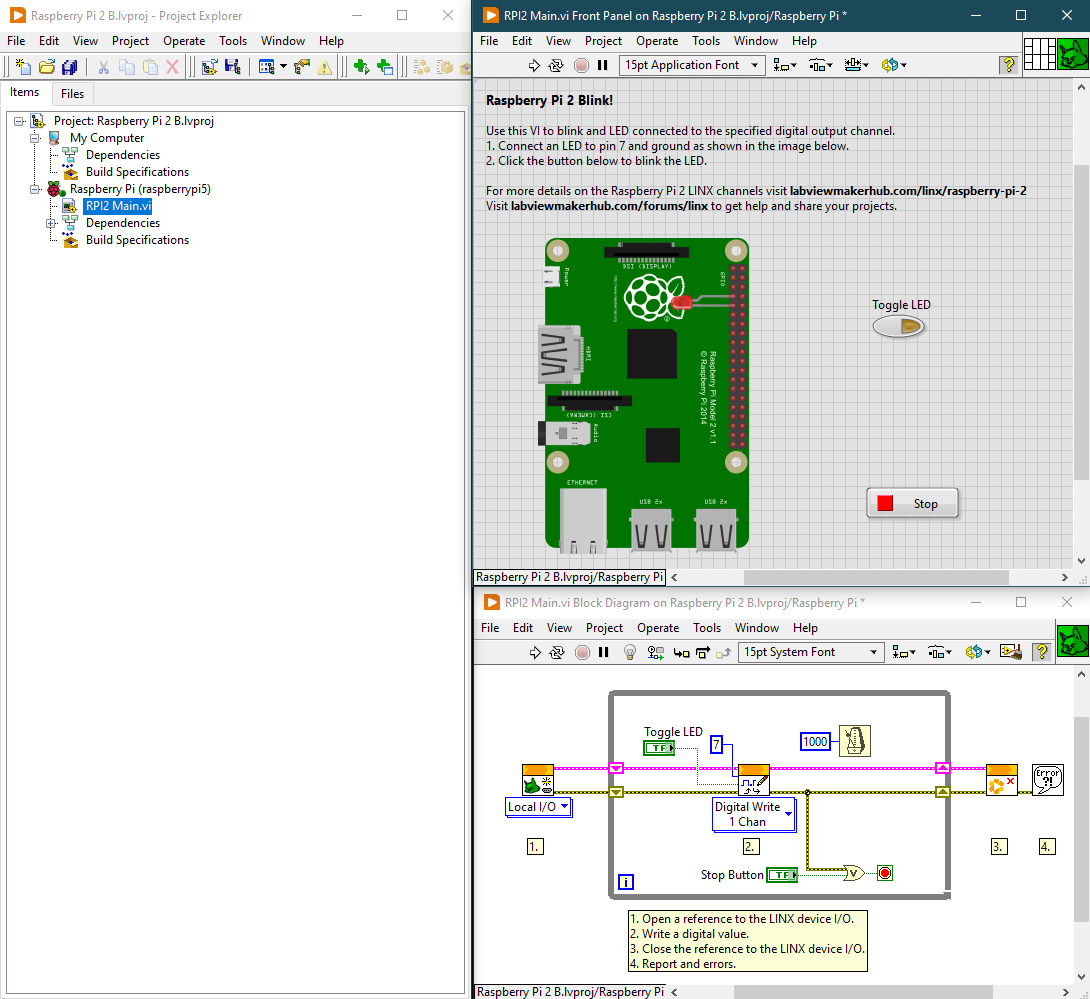
3. Once connected head over to the Installation page and click on Launch Example
4. A new LabVIEW Project will be opened with a LED toggling example

Note: It says Raspberry Pi 2 but also supports the Pi 4 Model B.
Additional Information
- The NI Learning Center has some videos on how to get started with Raspberry PI.
- There are some tools out there for common hardware devices like ADCs. Check out MediaMongrels’ toolkit “LINX Raspberry Pi Addons” which is available through VI Package Manager.
- Check out the Hobbyist discussion forum for ideas, help, and to share your projects!
